Tips to Photograph Crystals and Minerals
Essentials of Rock & Mineral Photography
Rock and mineral photography can be complicated, and how you decide to approach it depends on the purpose of the photograph. For the purpose of illustrating research or other texts, it is important to select the specimens which best highlight important mineralogical features, and do your best to represent those through your images – however, when attempting represent an individual specimen for sale, catalog, or digital display, the focus of your images will be to show that specimen as accurately and realistically as possible.
Many factors affect photo quality, and accuracy of representation. Resolution, orientation, focus, lighting, and magnification can all drastically affect the resulting aesthetics. Ultimately, your goal will define the means – but here are some tips which will help you get started.
Representing your specimen
In rock and mineral photography, features such as clarity, intense color, form, crystallization, and previous damage can be difficult to capture – but these aesthetic features are what truly define a specimen. Representing them accurately is both a matter of skill and time, and requires the ability to take oneself outside of the process, and objectively compare the resulting image with reality.
In some cases, it will be impossible to accurately represent particular features through rock and mineral photography. When this occurs, simply do your best to highlight relevant points, and then provide a detailed explanation in your caption or description.
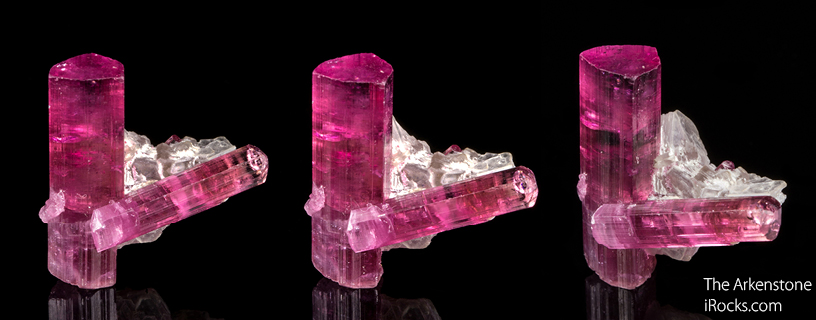
Choosing your angle
Before snapping shots, you’ll want to decide your specimen’s orientation. Place it on the surface you intend to use as backdrop, and turn it 360 degrees – paying attention to its relative orientation, play of shadows, and the placement of features. When deciding which face or magnification will offer the most attractive images, simply place yourself at the angle and distance from which you would prefer to view your specimen, and close one eye – this will help you envision the resulting two-dimensional image, and adjust your approach, if necessary.
Most rock and mineral photography tends to focus on a center of interest – often a significant, defining feature, or the main crystal growth. When highlighting your center of interest, the general rules of photographic composition apply. Remember that you can always use magnification or digital zoom/cropping to adjust, or to highlight smaller features, later. You might not be able to find just one necessary angle, so don’t be surprised if you need to take multiple photos in order to show the fine mineral specimen the way you wish.
Defining your resolution
Using a long exposure can be helpful in rock and mineral photography – but be sure to eliminate any environmental vibration beforehand, or the sharpness of the image may be negatively affected. Shooting with filters can also compromise sharpness and resolution, so it is best to shoot as-is, and apply digital filters later, if necessary. Ultimately, your results will be maximized with the use of a great camera, and a high-quality macro lens – so if you intend to take lots of photos of this nature, it is recommended that you invest in both.
Adjusting focus
Focus is incredibly important when it comes to rock and mineral photography. When important areas of a specimen are out of focus, one loses the unique and detailed information which defines that piece – so if you can’t capture your specimen with precision in one shot, take several to ensure a well-rounded perspective.
It is best to snap a test shot for review, before taking additional images. This will help you identify any fingerprints, dust, or other photographic intrusions while you still have the ability to address them. If you are having difficulty focusing on a particular noteworthy feature, or need to throw sharper relief in a particular area, reducing the depth of field can occasionally help eliminate distraction, and highlight your area of focus – however, this should be used sparingly, and for highlights only.
Using a tripod to make sure your camera is steady also can be helpful. When photographing small rocks, it can be easy for small movements to cause photos to be out of focus. A strong and sturdy tripod can help avoid these errors.
Reviewing reflections, and play of light
Finding the balance between the display of light and shadow is important. Too much light reflecting off of a crystal face will create a burn-out (which shows up as a white blank in images), whereas too much shadow will create a black-out (where a portion of your specimen is left in darkness). Achieving a good balance and distribution of darkness and light takes time, and practice – but when achieved, appropriate lighting allows the maximum portrayal of detail, while still creating the impression of dimension and depth. It can be helpful to employ the help of a lighting box or other reflective tool, when shooting a particularly difficult specimen.
Ensuring fidelity of color
Color fidelity is drastically affected by the temperature of light – so be sure to use the camera settings appropriate for your light source. Some specimens (particularly blue-green minerals) can be difficult to represent correctly in color, and will have to be adjusted digitally for accurate display. Changing color or saturation should only be done to match the specimen, and should not be done to exaggerate features of the specimen.
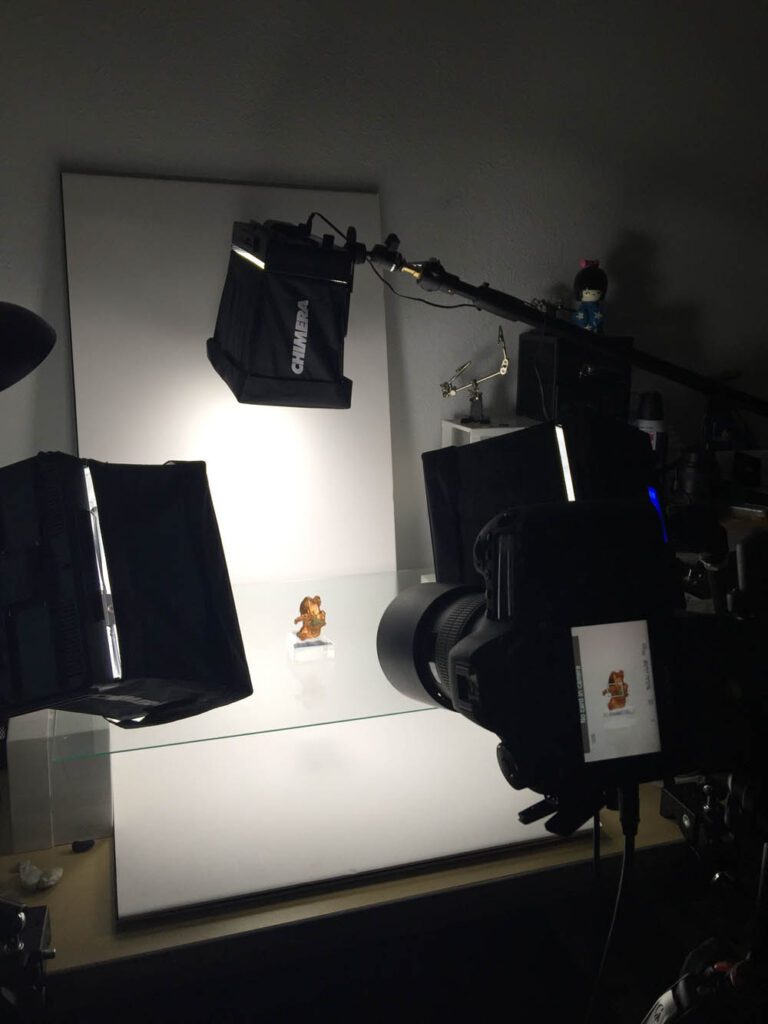
Lighting
Lighting is among the most important and most difficult aspects of mineral photography. As mentioned above, the light itself must be the correct temperature, with the brightest light source located above the specimen. Reflectors can be used to provide fill-in light, from other directions, if needed to balance the specimen. The use of a lighting diffuser can also be helpful in the elimination of burn-outs and black-outs, and can create a more appealing image. If using backlighting to highlight physical features or a specimen’s internal color, you must be sure to note this when crafting the description of your specimen.
Background
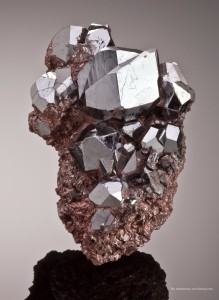
In rock and mineral photography, the choice of background is really an aesthetic one – however, use of a plain, contrasting background is suggested to promote accurate representation, and reduce distraction.
A specimen with a dark border should be placed on a light background (and vice-versa), in order to create definition, and help the specimen stand out. A smooth, matte-finish paper in a neutral color (white, black, or gray) provides an ideal background for most images.
Rock and mineral photography is truly an art form, in and of itself – and it can take years to develop a great eye. Still, practice makes perfect – so experiment with some of the pieces in your own collection, and see where it takes you!
Not sure if you’ve got the skills? If you’re interested in developing a visually stunning display of your fine mineral specimens, contact the experts at iRocks, today. Our professional photographers have years of experience, and can create a beautiful portfolio of your collection, or individual shots of your favorite pieces – so you can share and enjoy them, for years to come. E-mail gallery@iRocks.com for more information.